
The purpose of this tutorial is to provide you with a friendly and easy to follow step-by-step guide for a dongle-less standalone installation of Catalyst Professional.
BEFORE YOU BEGIN:
To complete the installation, you will first need to download the corresponding files from our website which can be seen at the following link:
https://catalyst.earth/products/catalyst-pro/download/
**Please note that the demo data is a separate installation.
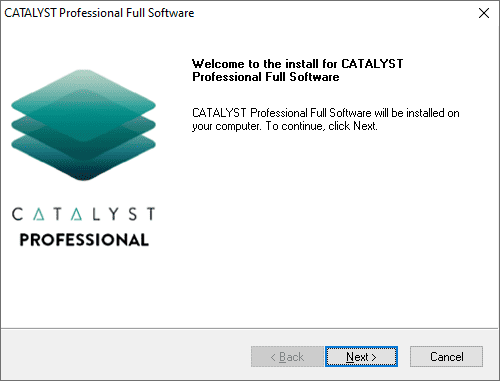
Launch the Geomatica executable that you previously downloaded. The following window appears:

The Catalyst Professional Installation Wizard starts.
Click ‘Next’ to proceed.
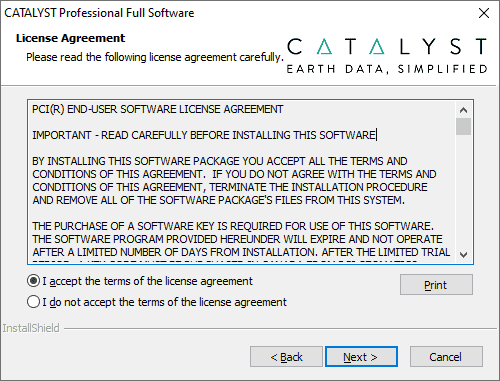
The license agreement appears. Please read through the agreement and select ‘I accept the terms in the license agreement’ and then click ‘Next’ to proceed. By not agreeing to the terms and conditions the installation will immediately cancel.
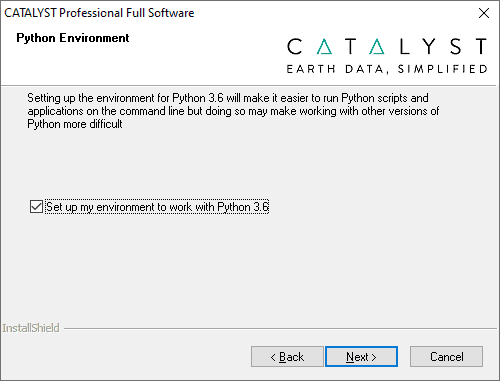
The Python Environment window now appears. This allows you to choose whether you would like to set up your Python environment to use Python 3.6 by default. If you un-check this option your current Python environment will not be changed.
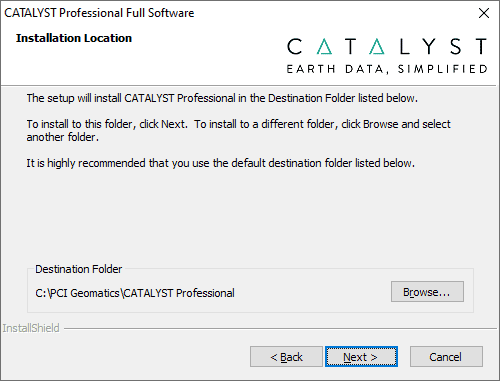
The Installation Location screen appears. Choose a destination folder to install the software, and then click ‘Next’.
**Due to certain read/write permission issues under the Program Files on new Windows machines, the default installation location is the C: drive. We suggest keeping this default installation path in order to run the software.
For a Standalone Installation (without a dongle), choose Standalone (local license without a dongle) as the installation type, and click ‘Next’.

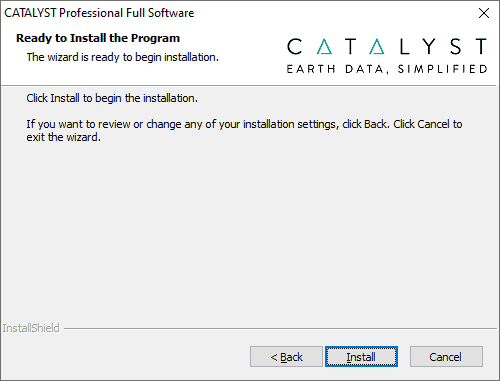
The installation is ready to begin.
Click ‘Install’.
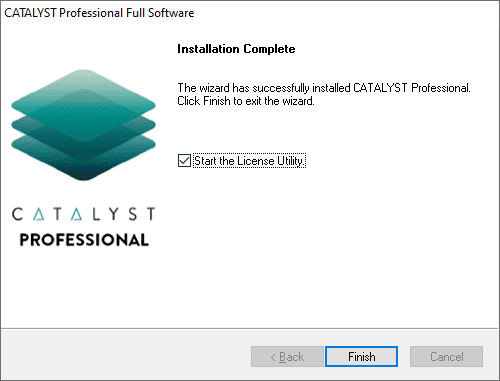
The Geomatica Installation Wizard is complete. Check “Start the License Utility” and click ‘Finish’.
Now that the installation has completed you will need to request a license file.
On your computer open the License Utility (last icon on toolbar).
Copy the fingerprint information from the Fingerprint field and send it to [email protected]
Be sure to include your customer number, name and company name along with the fingerprint information.
You will then be sent a license file by our Support team.
If this is a student license request, copy and paste the fingerprint information from the License Utility into the Student License Portal. You will receive an email with a license key for the duration of your course.
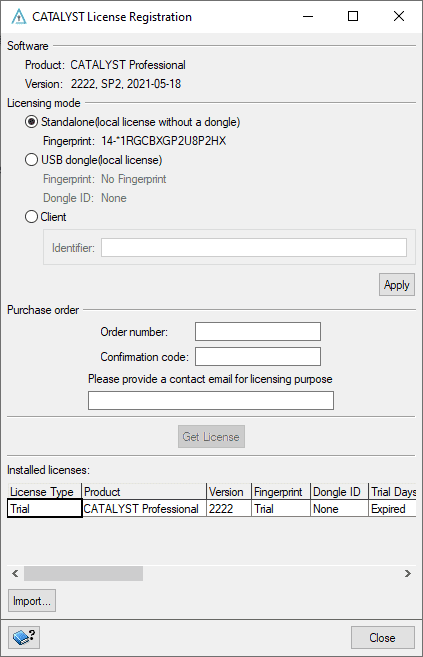
**Catalyst Professional comes with a trial key that automatically enables software functionality. See Trial Days Left to see how many days you are entitled to.
Upon receiving your license file, save the license file to your computer.
After doing so, click the ‘Import…’ button in the License Utility (last icon on toolbar), navigate to the location of the license file and click ‘Open’.
The Package field will list all the packages you are entitled to with this license.
The standalone installation (dongle-less) of Catalyst Professional is now complete. You may start using the software.
For any technical assistance you can always contact [email protected]. Please be sure to include your customer number for easy reference as well as all relevant screen captures.