This tutorial outlines how to remove No Data pixels from imagery in CATALYST Professional. This process is for rasters which have an image value for the metadata tag NO_DATA_VALUE and the value is treated as a no-data or missing data value.
No Data values (shown under the Viewer as "N/A") are simply metadata tags in the PIX file, displayed in the metadata as "NO_DATA_VALUE." This can be stored at the file level (In Focus, under the Files tab, right-click on the PIX file > Properties > select the Metadata tab) or at the band level (In Focus, under the Files tab, right-click on each individual band > Properties > select the Metadata tab). Usually, this value is set at the file level and will be the same value for all bands in the file (you only set NO_DATA_VALUE at the band level if you have different values for each band).
You can set the NO_DATA_VALUE tag to any PIX file under the Metadata tab using the “+” button:
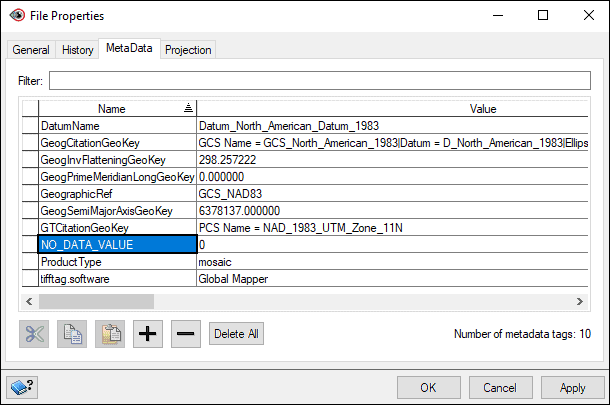
However, the NO_DATA_VALUE metadata tag is really only used in Focus to make these areas transparent when you load the image into the viewer. Only some of the algorithms acknowledge the NO_DATA_VALUE tags. In many cases, you would need to use the actual value (zero in this case).
To create a mask of the data area:
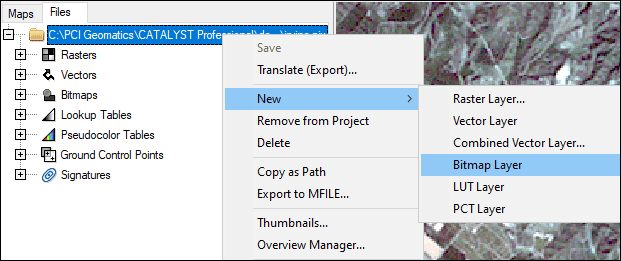
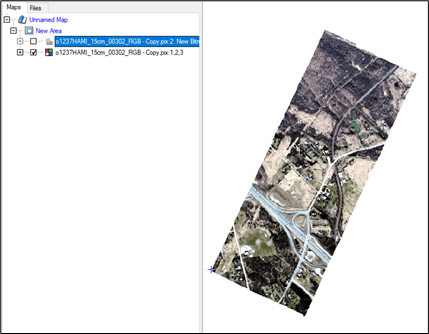

Once the bitmap is created you can then use it as a mask when running EASI modeling.
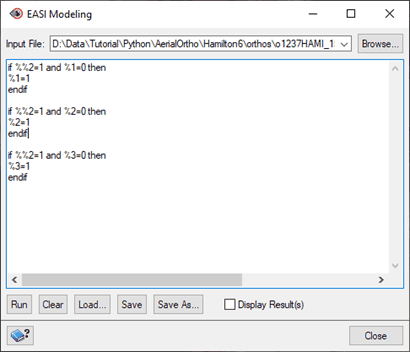
To remove the No Data pixels using an EASI script:
if %%2=1 and %1=0 then
%1=1
endif
if %%2=1 and %2=0 then
%2=1
endif
if %%2=1 and %3=0 then
%3=1
endif
Holes in image (from no data) before running the EASI script:
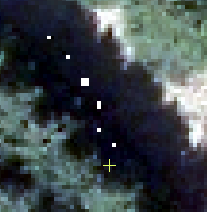
After running the EASI script – pixels are set to 1 so they are no longer “holes”:
