
The purpose of this tutorial is to provide you with a step-by-step guide for a license server installation and the corresponding clients of CATALYST Professional.
BEFORE YOU BEGIN:
To complete the installation, you will first need to download the corresponding files from our Downloads webpage:
https://catalyst.earth/products/catalyst-pro/download/
**Please note that the demo data is a separate installation and can be downloaded from the webpage listed above.
Launch the Sentinel RMS Server executable that you downloaded.
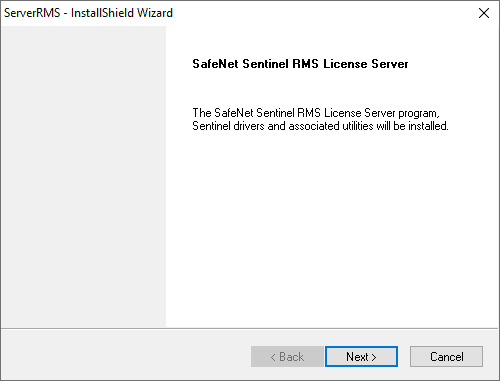
The Server RMS installation wizard starts. Click ‘Next’ to proceed.
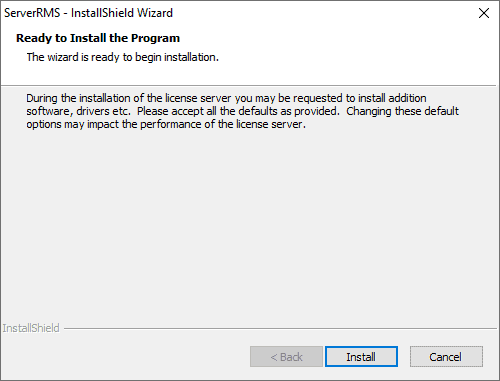
Select ‘Install’.
Ensure that any previous versions of the license server are uninstalled. Click ‘Next’ to proceed.

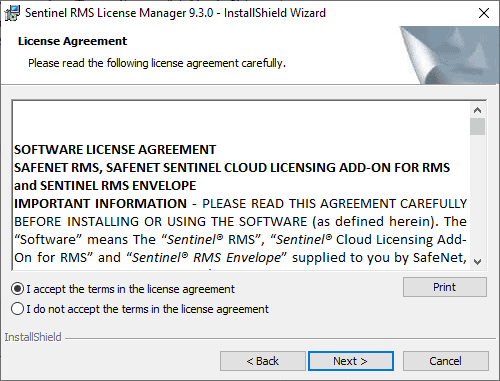
The license agreement for Sentinel System Driver appears. Please read through the agreement and select ‘I accept the terms in the license agreement’ and then click ‘Next’ to proceed. By not agreeing to the terms and conditions the installation will immediately cancel.
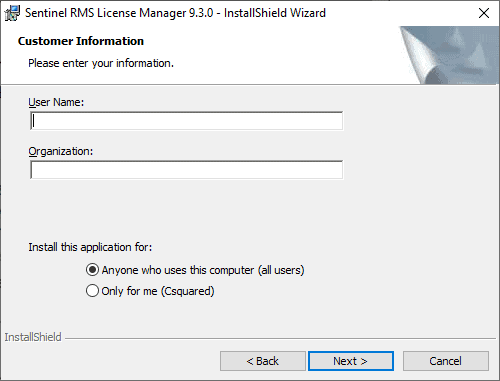
The Customer Information window appears. Fill out the pertaining information and select ‘Next’ to proceed.
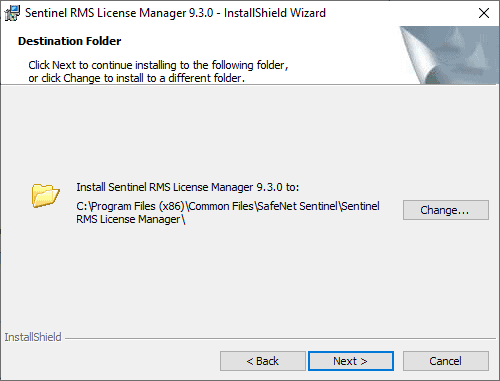
The Destination Folder panel appears. If you wish to accept the default path, please select ‘Next’ to proceed. Otherwise make the appropriate changes, then select ‘Next’.
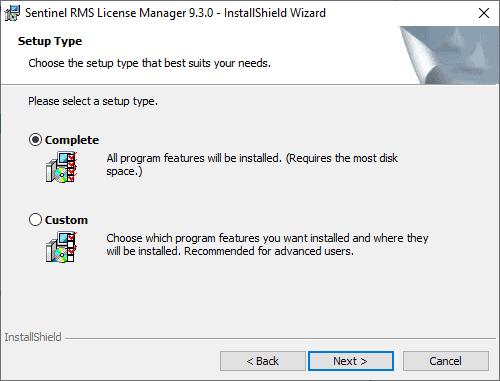
The Setup Type screen now appears. Please toggle the ‘Complete’ installation and select ‘Next’ to proceed.
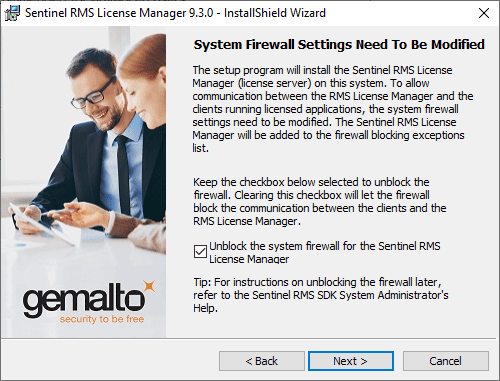
The Firewall Settings screen appears. In order for the license manager to communicate with the client, the ‘Unblock the system firewall for the Sentinel RMS License Manager’ must be toggled on. Failure to do so will result in manual changes to the firewall after installation. Select ‘Next’ to proceed.
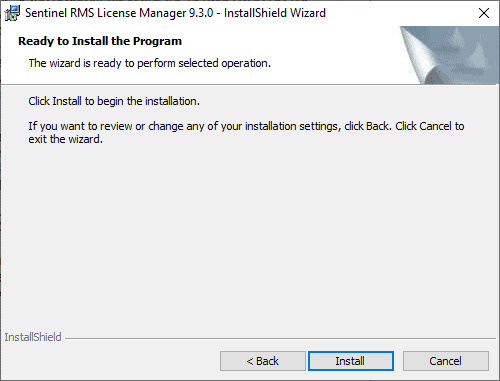
Installation is ready to begin. Click ‘Install’.
The Sentinel System Driver Installer is now complete.
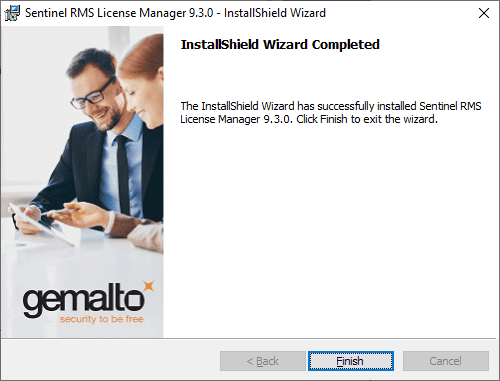
Click ‘Finish’ on the final screen to close the installation wizard.

Now that the installation of the Sentinel RMS License Manager has been completed, you need to gather the fingerprint (Locking Code) and send this information to our Support Team at [email protected]
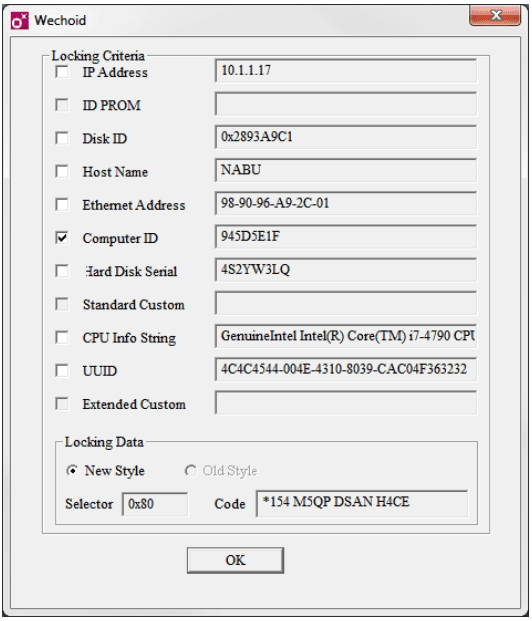
Open the Wechoid Window. This is available through Start Menu > Programs > CATALYST License Server > Server Fingerprint Utility. It is also located in the following folders C:\Program Files (x86)\PCI Geomatics\SentinelUtilities\License_server\ServerUtils and C:\Program Files (x86)\Common Files\SafeNet Sentinel\Sentinel RMS License Manager\WinNT
This panel includes a number of check-boxes. Each of these corresponds to a different hardware locking criteria. Please generate the fingerprint following the instructions below, depending on your server configuration.
You will need to get the dongle-based fingerprint information if you have a USB dongle plugged into your server computer.
**Note: If computer ID is greyed out, the dongle is not properly being detected. Download and install the Sentinel Driver from the following link: https://sentinel.gemalto.com/support_and_downloads/Download_Drivers/Sentinel_Drivers/. If the dongle is still not detected please contact support@catalyst.earth
Follow these instructions if you do not have a USB dongle for your server computer.

In addition to the fingerprint, be sure to send the following information with your email:
Customer Number
Company Name
Email address at which you want to receive the license file
Locking code
Platform of the computer where the license server resides
Version number
After you have received a copy of the license file, please save a copy locally onto your desktop (Ex. C:\My Documents\PCI_License). Now proceed to open the WlmAdmin panel (Start > All Programs> PCI Geomatics > Server Administration > Server Administrator).
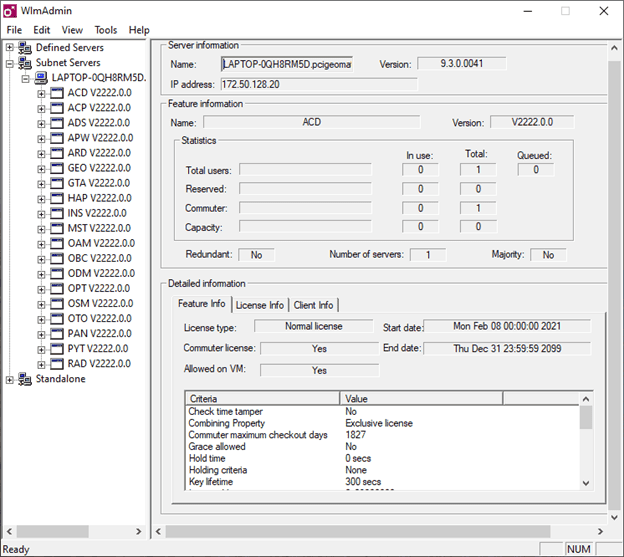
To apply the license file right-click on the computer name (where the license server resides) and select Add Feature > From a File > To a Server and its File.
Browse for the location of the previously saved license file, select it and click ‘Open’ to proceed.
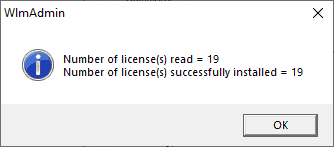
The license file will be applied into the license server and you will receive a message similar to the one displayed above. The number of licenses applied may vary, depending on the amount of modules purchased, or being evaluated. The Sentinel RMS License Manager is now installed, started and serving out licenses.
**If a reboot of the license server is detected by the license manager itself, the service will automatically restart and apply the license file, as long as you select ‘To a File and it’s Server’ in the above step.
The packages and version of your license key can be seen if you expand Subnet Servers.
With the Sentinel RMS License Manager installed, started and serving out licenses, you can now install full client installations. Using the Catalyst Professional install file you downloaded previously, please run the installation.
The Geomatica Installation Wizard starts.
Click ‘Next’ to proceed.
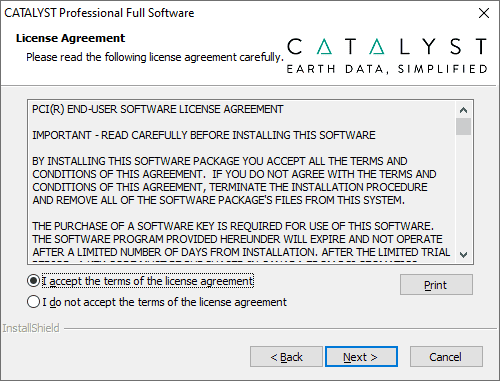
The license agreement appears. Please read through the agreement and select ‘I accept the terms in the license agreement’ and then click ‘Next’ to proceed. By not agreeing to the terms and conditions the installation will immediately cancel.
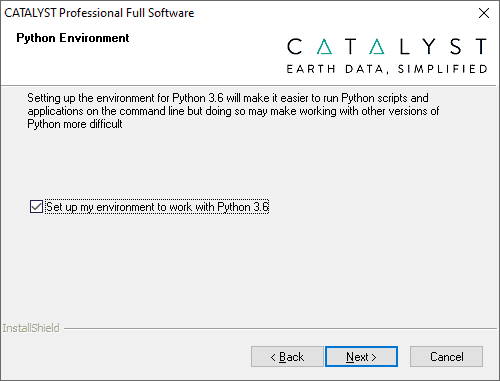
The Python Environment window now appears. This allows you to choose whether you would like to set up your Python environment to use Python 3.6 by default. If you un-check this option your current Python environment will not be changed.
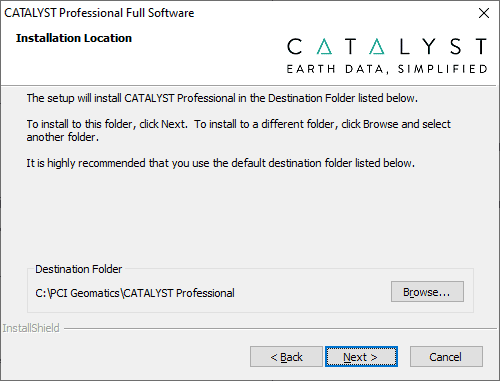
The Installation Location screen appears. Choose a destination folder to install the software, and then click ‘Next’.
**Due to certain read/write permission issues under the Program Files on new Windows machines, the default installation location is the C: drive. We suggest keeping this default installation path in order to run the software.
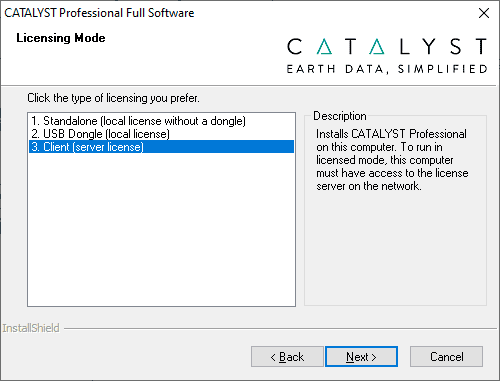
For Client Installation, choose Client (server license) as the Installation Type, and click ‘Next’.
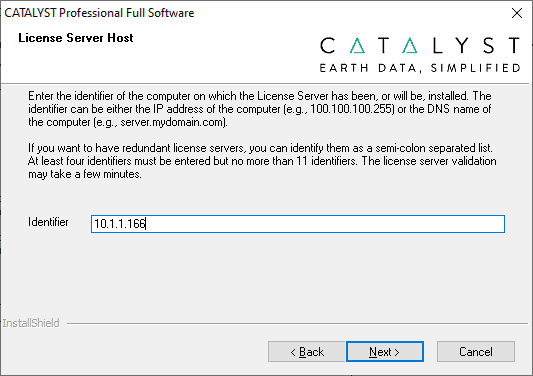
The License Server Host panel appears. Please type either the computer name (with domain), or the IP address of the machine where the license server resides. After doing so please select ‘Next’ to proceed.
**If you have entered the computer name (or IP address) properly and an error occurs, it means that the license server might not be configured properly, or started. You can set the licensing later so carry on with the installation and contact Catalyst Customer Support to troubleshoot.
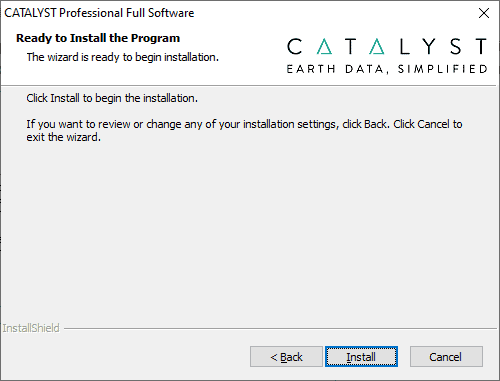
The installation is ready to begin.
Click ‘Install’.
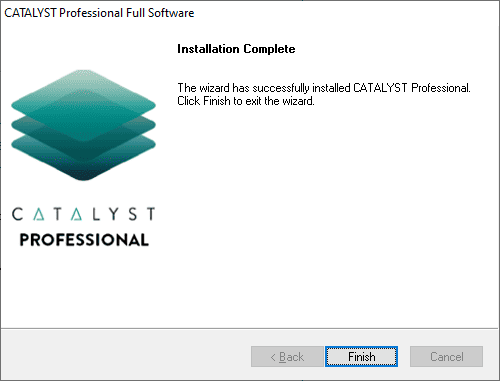
The Geomatica Installation Wizard is complete. Click ‘Finish’.
The installation of the Sentinel RMS License Manager and the corresponding clients of Catalyst Professional are now completed.
Occasionally it is required to update the license server. Newer versions often include upgraded functionality and bug fixes. The following steps demonstrate how to uninstall an existing Sentinel RMS license server.
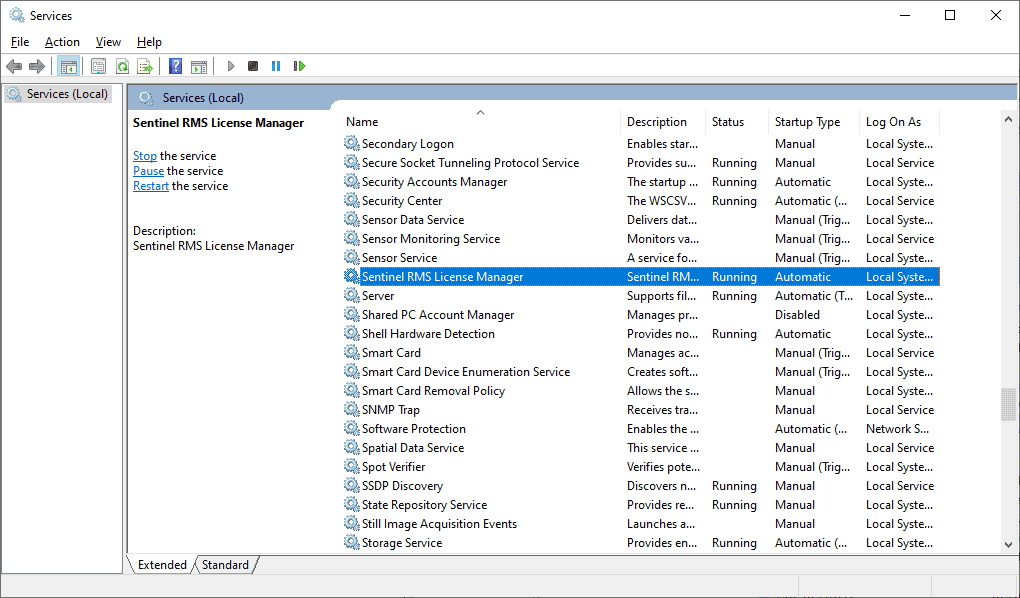
Before running the uninstallation process you must first ensure that the Sentinel RMS License Manager service has been stopped. To stop the server you must do so through the Control Panel (All Control Panel Items > Administrative Tools > Services).
The Services panel opens and you will need to locate Sentinel RMS License Manager service in the list. You can right-click on the Sentinel RMS License Manager Service and select Stop in the pull-down menu.
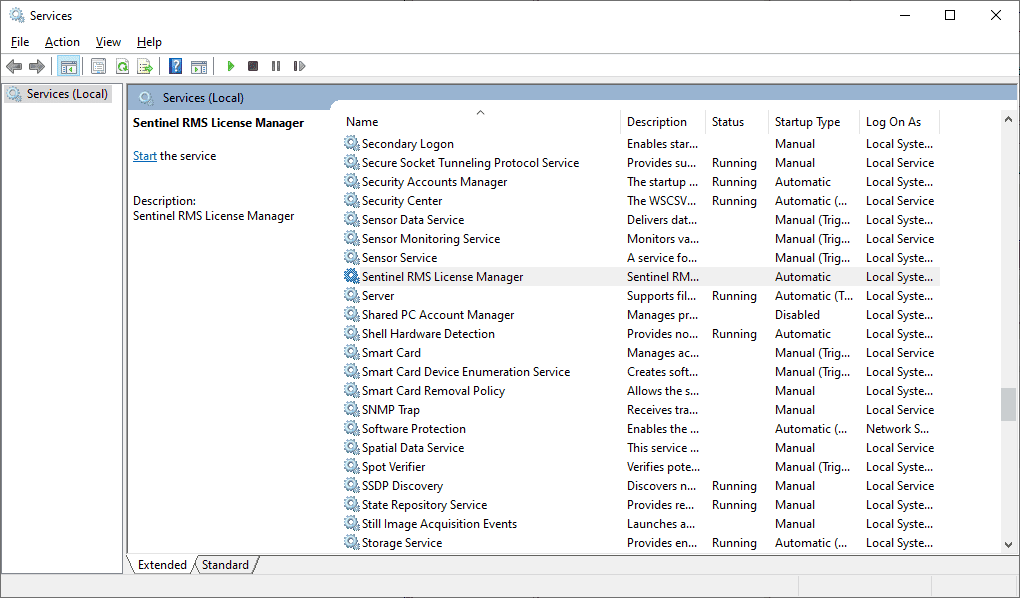
Once the Service has been stopped your panel should look similar to this screenshot. Failure to Stop the Service will mean that the un-installation will not be completed. The Service must be stopped in order to proceed to the next step.
Now that the Service is stopped you can uninstall the license server from the Control Panel > Program and Feature > Add or Remove Programs > Sentinel RMS License Manager.
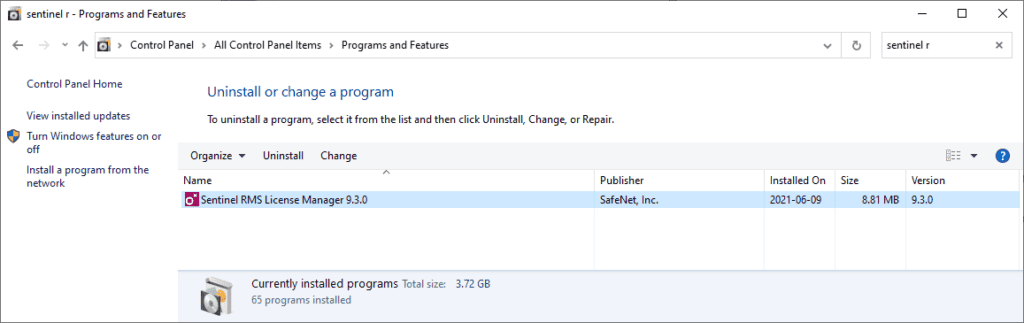
You can right click on Sentinel RMS License Manager and select Uninstall. The following window appears. Click 'Yes.'

The un-installation of the Sentinel RMS License Manager is now completed. You may now run the new Sentinel RMS License Manager installation.
Contact our support team for with any technical questions about our products. You can reach us at [email protected].