The output folder contains a series of updated mosaic tiles. Each generated tile retains the file name of the original mosaic tile.
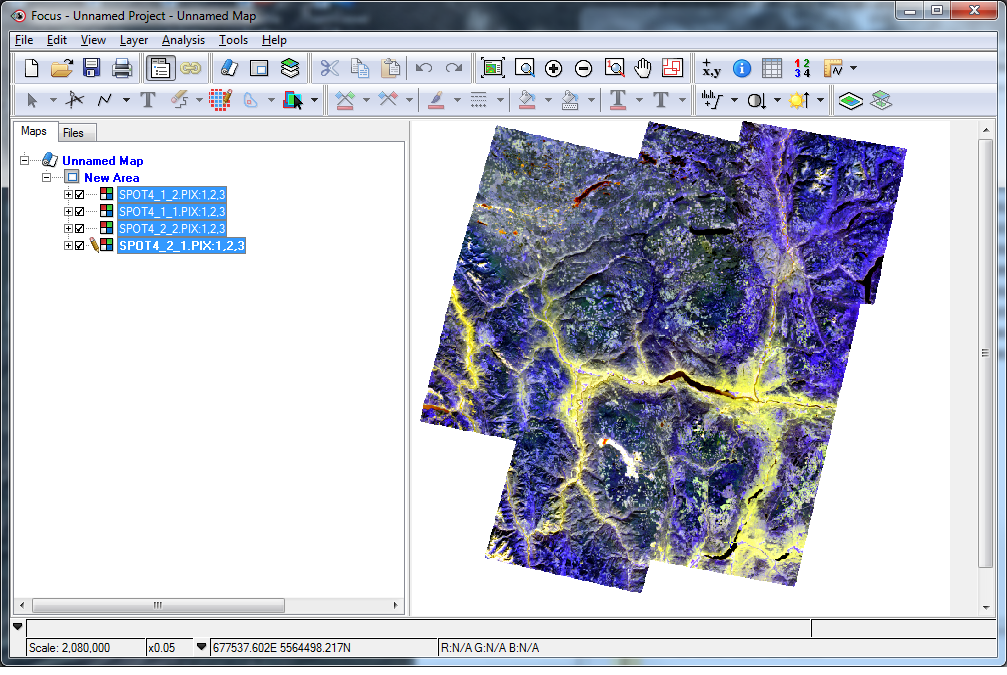
You can review the updated output mosaic tiles in CATALYST Professional Focus.
To view updated mosaic tiles in Focus
- On the File menu, click Open.
-
In the File Selector window, open the MosaicUpdate\Tiles folder, select all of the mosaic-tile images, and then click Open.
The following figure shows the updated sample mosaic with enhancements for each tile changed to None.
Notice that many of the holes that appeared in the original mosaic image have now been filled with data from the new images.
- To compare the original mosaic tiles with the new ones, in your backup folder, open the original tiles.
- On the Map tab, rename the files to differentiate between the original and new images.
- On the Zoom toolbar, click a zoom button (Zoom In, Zoom Interactive, or another zoom button), as applicable, to zoom in to areas in the original and new, updated tiles.
-
On the Maps tab, alternate between clearing and selecting the check box beside each tile to switch the visibility on and off to compare how they differ.
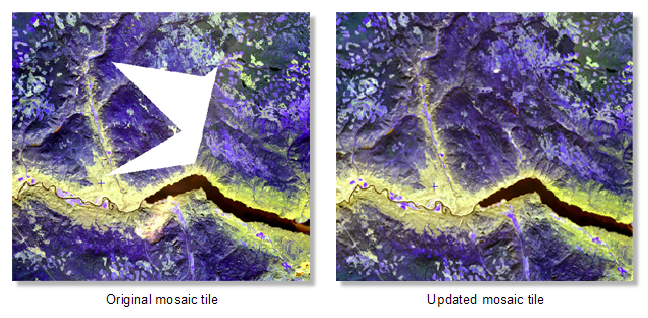
For example, in the following figure, a large hole that existed on the eastern edge of the original tile has been filled in with the new image data in the new tiles.
-
Zoom to other areas of the updated tiles, and then, again, switch the visibility of the tiles on and off to compare other areas in which the mosaic was updated successfully.
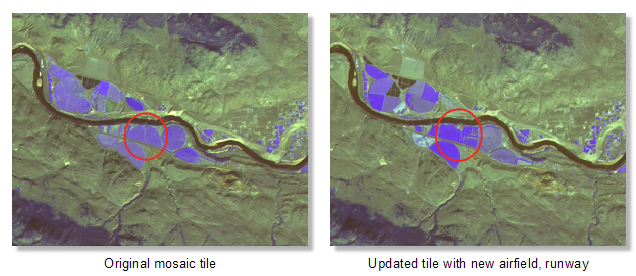
For example, in the following figure, it is apparent that an airfield or runway was built after the old tile was generated, and is visible only in the new scene.