The Live Ortho Preview window displays a full-resolution preview of the images orthorectified using the active digital elevation model (DEM), in which you can view changes in finer detail. When you apply changes to the DEM, the ortho images are regenerated automatically, and the preview displays an accurate depiction of how the changes affect images orthorectified using the updated DEM.

- In the DEM Editing window, on the toolbar, click Open Live Ortho Preview.
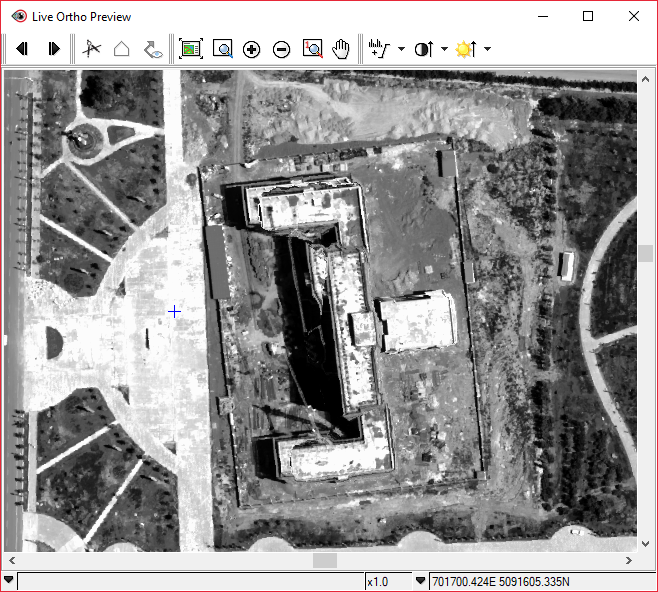
The Live Ortho Preview window appears.
The following table describes the toolbar buttons in the Live Ortho Preview window.
| Button | Label | Description |
|---|---|---|
 |
Previous | Go to the previous image associated with the DEM. |
 |
Next | Go to the next image associated with the DEM. |
 |
Vector Editing Toolbar | Display the Focus vector-editing toolbar, which you can use to modify polygon masks.
For more information, see About the Vector Editing toolbar. |
 |
New Polygon | Draw a new polygon to use as a mask. |
 |
View DEM Editing Polygons | Switch the visibility of existing DEM editing polygons between on and off. You can use the vector-editing tools to modify the polygons in this window. |
 |
Zoom to Overview | Adjust the magnification so that the entire image appears in the viewer. |
 |
Zoom Interactive | Drag a rectangle over the area you want to magnify. |
 |
Zoom In | Increase the magnification incrementally, centered on the cursor.
You can also:
|
 |
Zoom Out | Decrease the magnification incrementally, centered on the cursor.
You can also:
|
 |
Zoom 1:1 | Adjust the magnification so that one screen pixel displays one image pixel, centered on the cursor. |
 |
Pan | Drag the image to view a specific area.
You can also:
|
|
Pan | Drag the image to view a specific area.
You can also:
|
 |
Contrast | Adjust the difference between the light and dark extremes for all images displayed. Click the arrow for a menu of additional options. |
 |
Brightness | Adjust the overall luminosity (amount of light) for all images displayed. Click the arrow for a menu of additional options. |
 |
Status Bar | Displays system messages, zoom-image pixel, and current position of the cursor.
|